Whack-A-Mus
Floor: 1
Type: Combat
Statuegeist:
• Regular: 1
• Emergency: 1
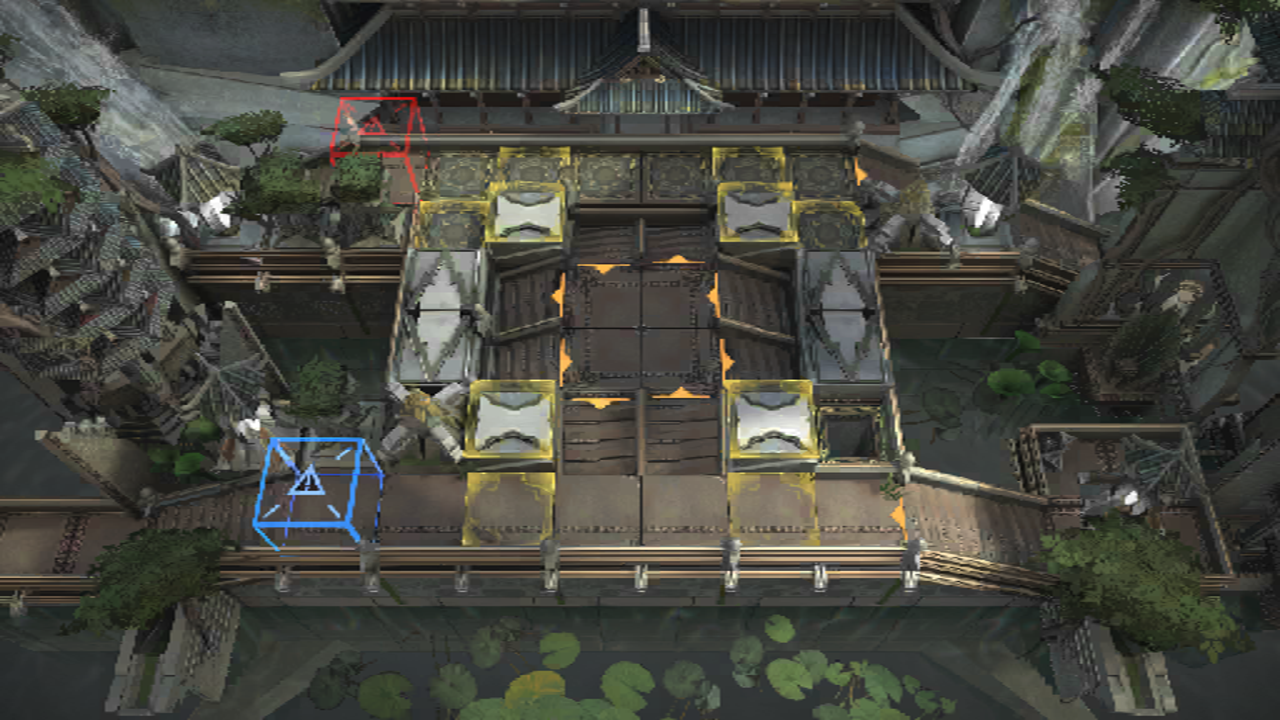
The main threat of this stage is the big mice (Fieldmus Bruiser). They require block 3 to block and have plenty of HP.
The stage progresses with big and small mice entering the tunnels and appearing in the middle section of the map. After tunneling through the passageways several times, they finally appear at the bottom row beelining to your blue box.
NM and EM differences
EM adds 2 more big mice to the map and has a respectable +30% enemy Max HP buff.
Notable Enemies
Section titled “Notable Enemies”- Fieldmus Bruiser: Beefy 3 block enemy units that often result in leaks.
Stage Variants / Permutations:
Section titled “Stage Variants / Permutations:”Statuegeist positioning varies across stage permutations. Undesirable positioning will greatly extend stalling time. Bring water in case.
Notable Sui hours and Risk Coin debuffs
Section titled “Notable Sui hours and Risk Coin debuffs”West (enemy Max HP), North (Movement Speed) and South (enemy Def up) can cause increase chance of leaks if EM + no additional damage operators.
Stage Strategies
Section titled “Stage Strategies”Despite Raidian S1 summons providing 3 block, the preferred strategy is to run S2 and kill the big mice without blocking. The reason for this is to destroy the statuegeist for the ingot rewards.
Raidian S2 summons cannot attack enemies that are blocked behind it. With this feature, it is possible to infinitely stall 1-2 small mice at the summon’s rear while we slowly destroy the statuegeist.
Face Raidian, ideally adjacent if possible, to the statuegeist. Place 3 Raidian S2 summons in the middle facing inward such that one of the summons naturally sets up the stall for us.
Time your Raidian and other operators’ skills to maximize damage on the big mice.
Example video link: